If you’ve stumbled here from the ORC, Hello! I’m Annie, and this is the story of my life in a fixer-upper. I live in a 1920’s Craftsman in Nashville with my husband, our son, two cats and two dogs. After living through a renovation as a teen, I once maintained I would never put my family through that when I became an adult… and the rest is history. Contractors in our area were too expensive, so we’re taking the long way around and doing it ourselves. We initially gutted this bathroom way back in April 2019. Catch up on last week’s post here.
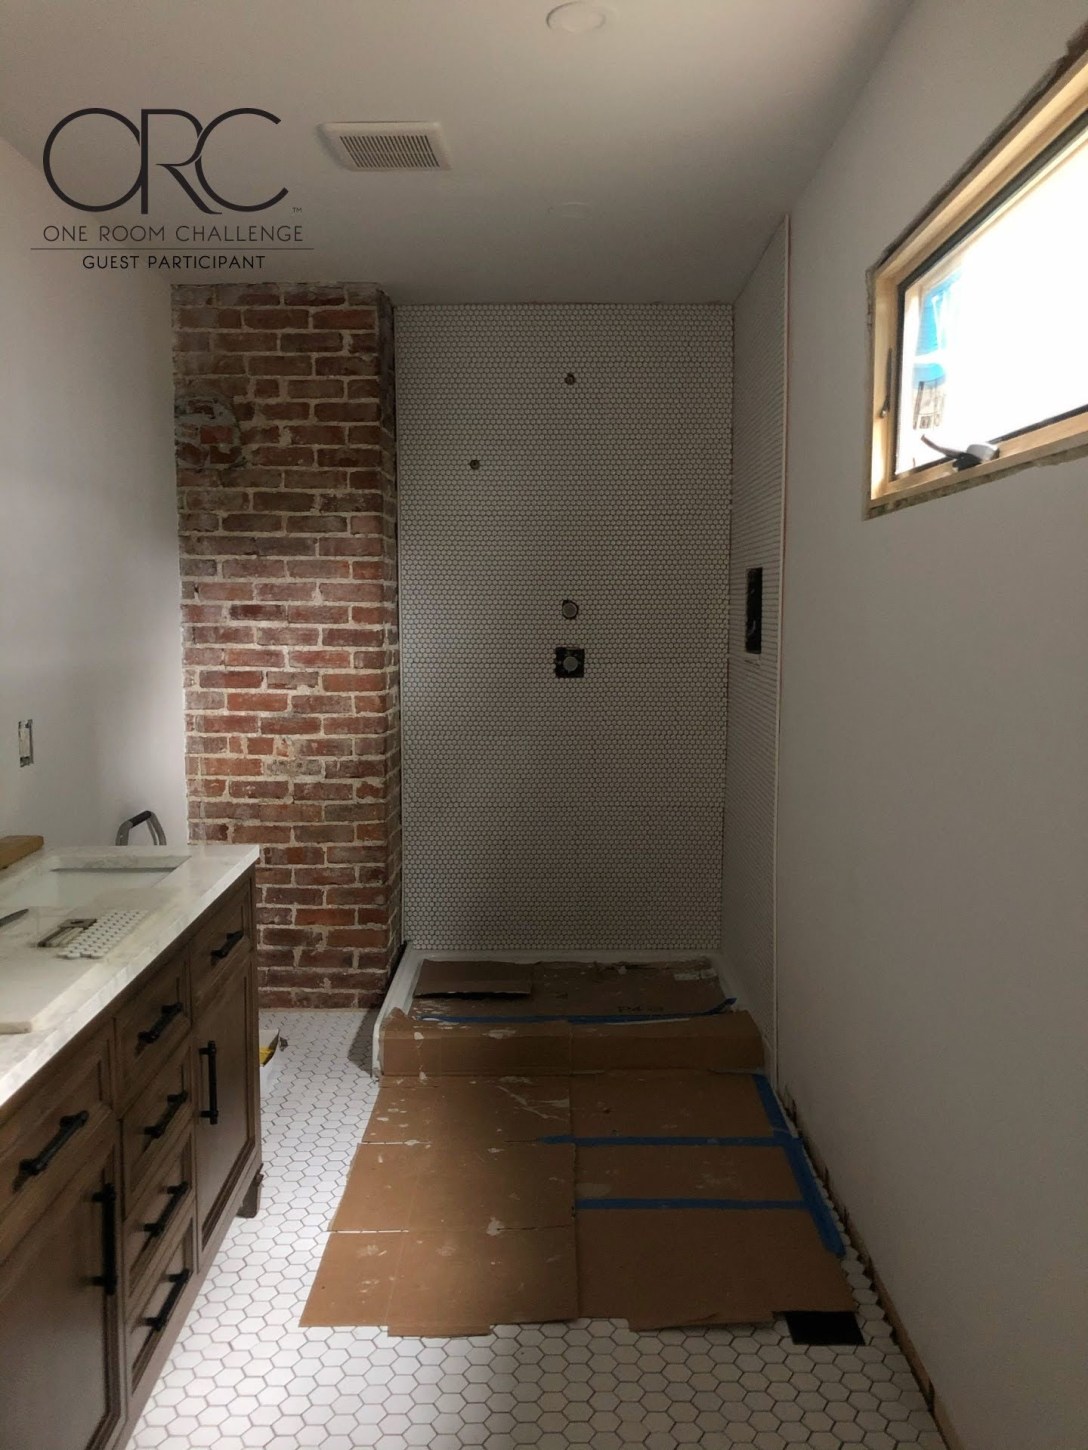
This week, my goal was to, at minimum, start laying tile on the back wall of the shower. In a dramatic turn of events – I actually completed this! No small thanks to the in-laws for taking our toddler for a full 24 hours over the weekend.
Laying penny tile seems like it would be simple, right? In my head it seemed simpler than trying to do a pattern with larger tiles or even laying individual subway tiles. It’s a bunch of small tiles, but they’re in 11’x11′ sheets so how hard could it be? Reality? It’s really hard to get those sheets lined up in a way so as to not show the seams between sheets. I read about it. I watched some videos, I thought I knew what I was doing and it still felt like I was reinventing the wheel. My technique improved throughout this project, but I have immense respect for professional tilers because my finished project is far from perfect. Tiling really is an art.
I did learn some lessons from tiling the floor a few weeks ago. I learned that I need to have a bucket with clean water in it and a few rags to keep excess mortar off of my hands and thus off of the front of the tiles. I learned that I should go back once the mortar has hardened some but not all the way and make sure I clean up any excess mortar between the tiles so I’m not stuck chipping away at mortar for what seems like years before I can grout.
It’s far from perfect but its still okay. It is done. It is tile and it is on the wall. It is not flawless, but it is progress toward being able to use that shower someday. And, hopefully, grout will camouflage the imperfections well.
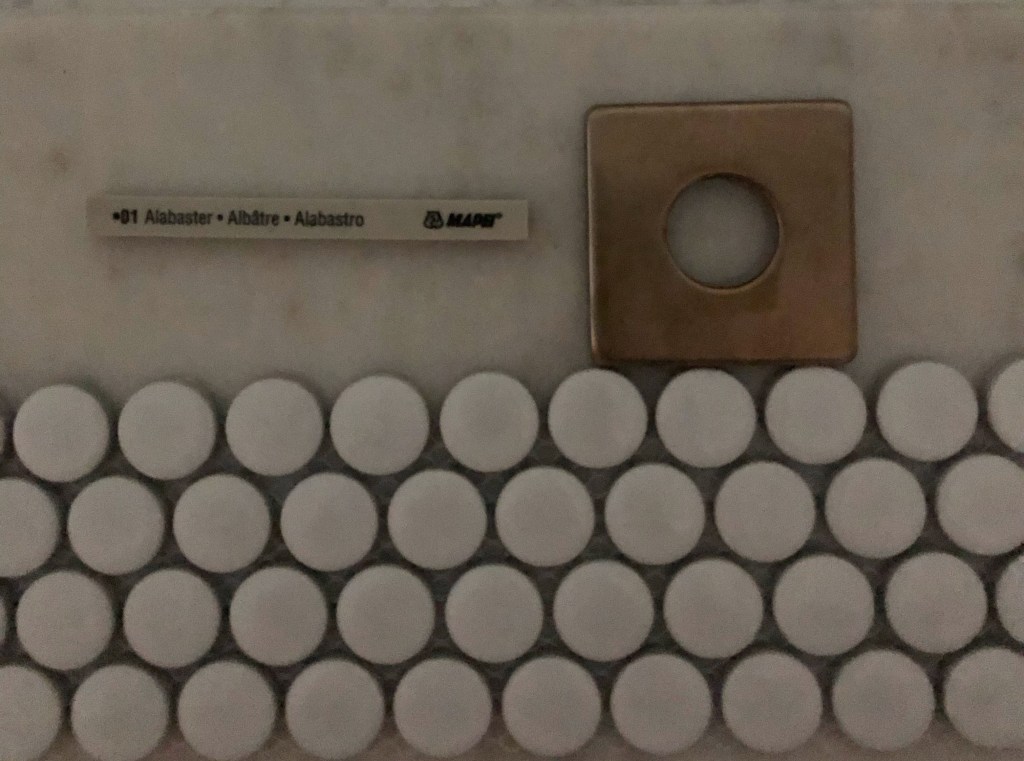
Speaking of grout, we made a decision on grout color and I picked it up from Floor and Decor on Wednesday! We went with Mapei Flexcolor CQ Premixed Grout in Alabaster. Is this much more expensive than powdered grout? Yes. However – for me, it makes the task of grouting so much less involved. Trying to fit in projects in between working and parenting means that if a task requires a lot of prep, I often can’t even think about starting it until I have a big block of time… which may or may not ever come. Premixed grout allows me to say “hey! Looks like I have an hour, lets do some grout!” I had a great experience using this product on our floors, so I’m hoping it will be the same for the shower walls.
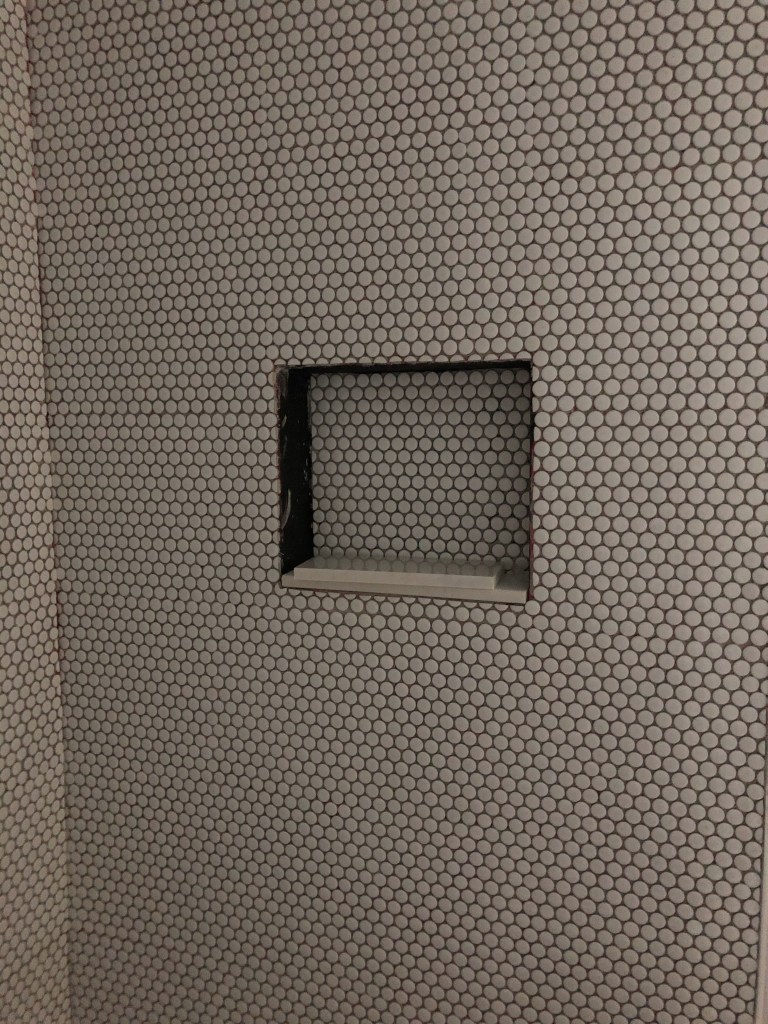
Before I’m ready to grout I still need to finish cutting and installing the marble for the niche surround and seal the marble. Hopefully I’ll be able to finish grouting by the end of the weekend.
Head over to Instagram for real time updates of my progress and, hopefully, a satisfying grout time-lapse video sometime in the next few days. While you’re there, don’t forget to check out the #oneroomchallenge posts and stories to keep up with everyone else participating!

Make sure to keep up with the rest of the One Room Challenge Guest participants via their blogs and on instagram. Find them here .
