
I have joined the Fall 2020 One Room Challenge as a guest participant, and the room I am working on is … the very same bathroom I worked on for the Spring 2020 One Room Challenge! Keep up with all of the other participants this round here: One Room Challenge Blog
If you’ve stumbled here from the ORC, Hello! I’m Annie, and this is the story of my life in a fixer-upper. I live in a 1920’s Craftsman in Nashville with my husband, our son, two cats and two dogs. After living through a renovation as a teen, I once maintained I would never put my family through that when I became an adult… and the rest is history. Contractors in our area were too expensive, so we’re taking the long way around and doing it ourselves. We initially gutted this bathroom way back in April 2019.
To put into proper perspective how long ago that is, when we first took a sledgehammer to our old bathroom, Joe Biden had not yet announced he was running for president in a campaign that feels like it’s been going on for approximately 10 years.
Completing a massive DIY Renovation while also working full time and parenting and losing access to childcare because of a pandemic takes a very long time. If you missed it, check out this post for the 22 steps that you too can take to gut renovate your bathroom in just 18 short months. I really enjoyed the community I found during the Spring ORC and the structure it gave me to make a ton of progress on our bathroom. Here is a little recap of where we came from and a rundown of what I hope to accomplish in the next 6 weeks.
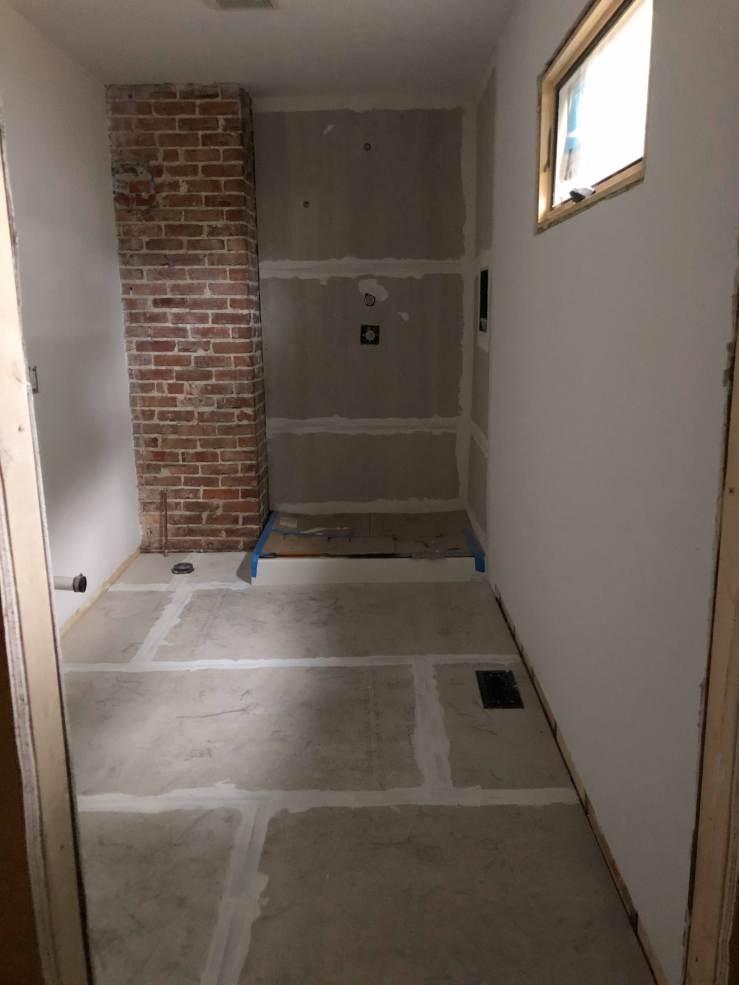
As a reminder, the end of the Spring ORC got us here:
Since then, I have completed the floor tile which was a – whole thing – and started to tile the shower.
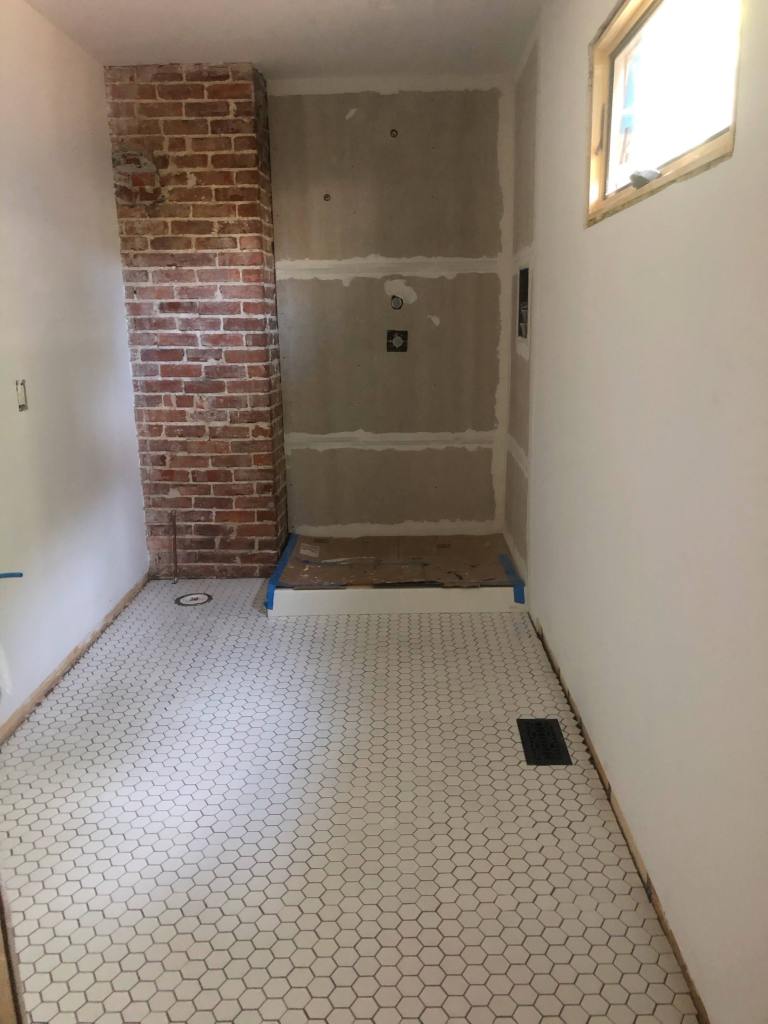
Floor tile laid and grouted. I used 2 inch white hex tile from Floor and Decor and Gray Mapei pre-mixed grout 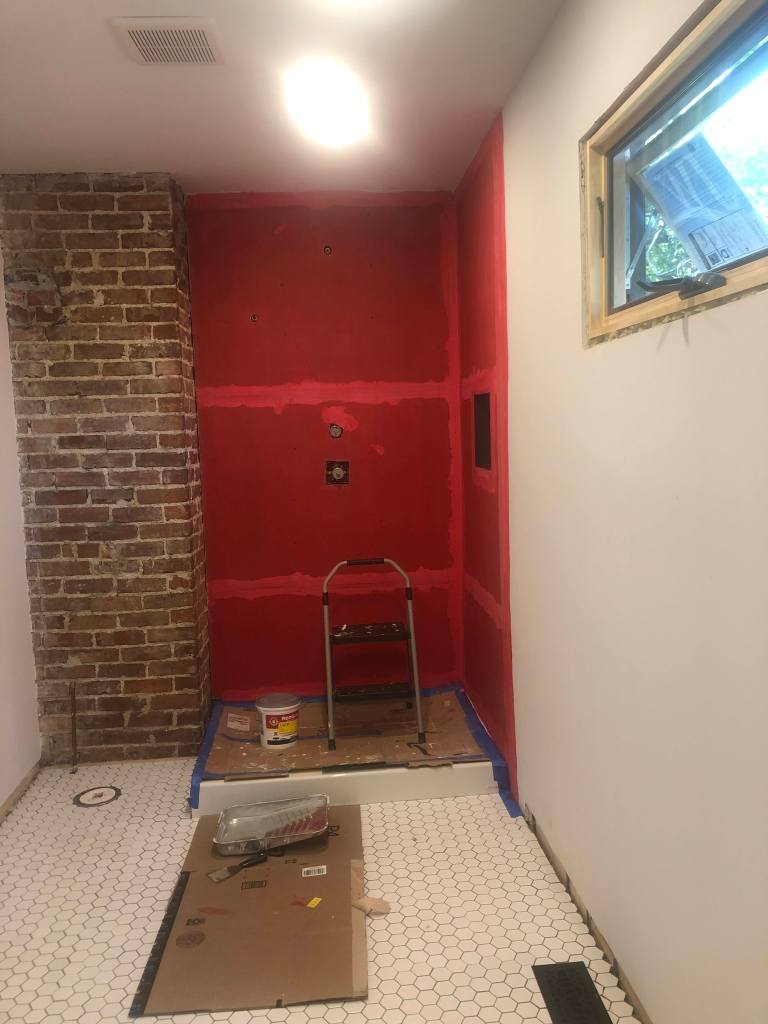
Red Guard waterproofing membrane on the shower walls 
White penny tile up on one wall of the shower
In the next 8 weeks, I hope to finish this room, which involves:
1. Finishing tiling the shower
2. Grouting the shower
3. Installing shower fixtures
4. Painting the walls
5. Installing the toilet
6. Finishing plumbing and installing the vanity and sinks/faucets
7. Finding and installing a door
8. Installing window, door and floor trim
9. Accessorizing
It is still a HUGE amount of work, but it really does feel like we are in the home stretch! (Don’t ask how many times I have declared that we are in the home stretch only to later realize that we are not.) I really could not have gotten half as far without my internet friends cheering me on and supporting me. So if you are reading this right now, thank you.
Inspiration
Our house is a craftsman although most of the craftsman character has been removed over the years. The space where this bathroom sits I believe was once the kitchen in the house. Sometime in the 80s, the kitchen was moved to the other side of the house and a horrible giant tub was installed. Doing the demo on that tub was so cathartic. It did not drain properly so we never used it in the first 4 years we lived in the house.
My goal is to bring this house back to it’s former glory and to put design elements back in that reference that craftsman style. That’s why I chose simple white hex and penny tile. Originally, I had envisioned subway tile, but, next to the exposed brick it just didn’t feel right.
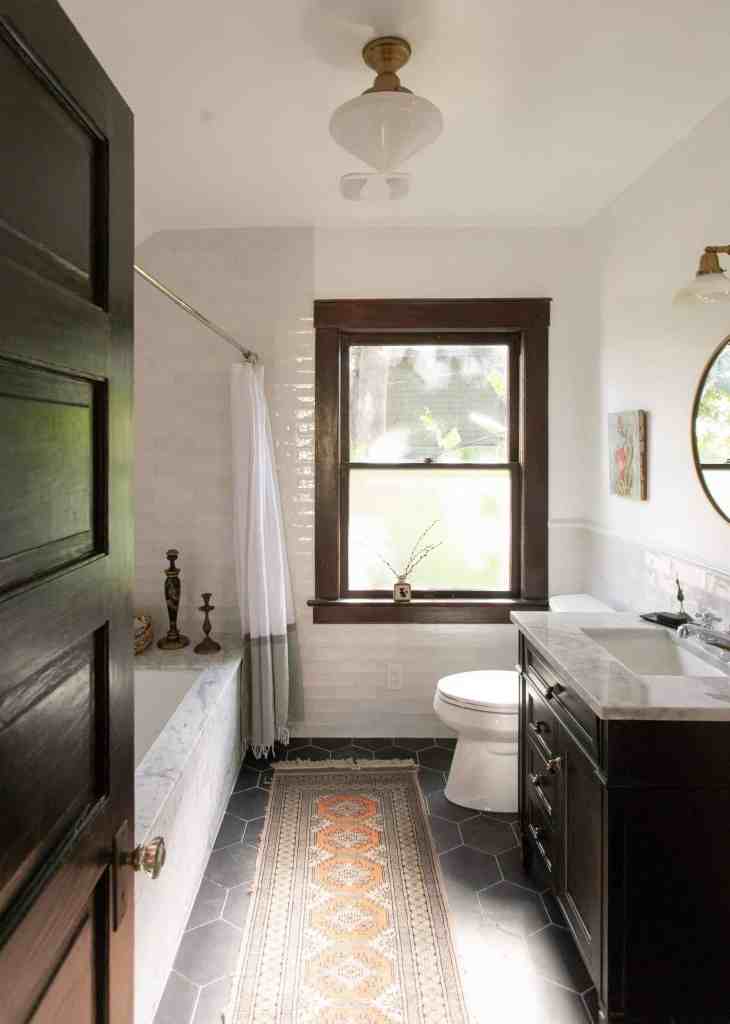
Craftsman style to me means using wood tones, natural stone, simple lines, classic shapes and the result is a room that is very function forward but also feels warm and inviting. Here is a picture that isn’t what this room will look like, but I think what it will hopefully feel like when it’s all finished.
Another inspiration to this room is Stephen and David’s Spring ORC bathroom (although, I’m pretty sure I started my bathroom first…) Their use of wood tones, marble stone and mixed metals is truly perfection. Their ability to make a room feel both modern and classic all at the same time is amazing. Even though they covered their brick back up, it’s still one of my favorite bathrooms on the internet. If you haven’t seen it yet, go check it out here: The Suite.
Here is a peek at what we will be installing over the next few weeks.
The following post contains affiliate links. As an Amazon Associate I earn commissions from qualifying purchases.
There are still many details that I have yet to work out – such as what color grout we’re doing in the shower and what the baseboard and window trim will look like – but I do have a few items I have been collecting over the last several months just waiting to get installed when the room is ready for them.
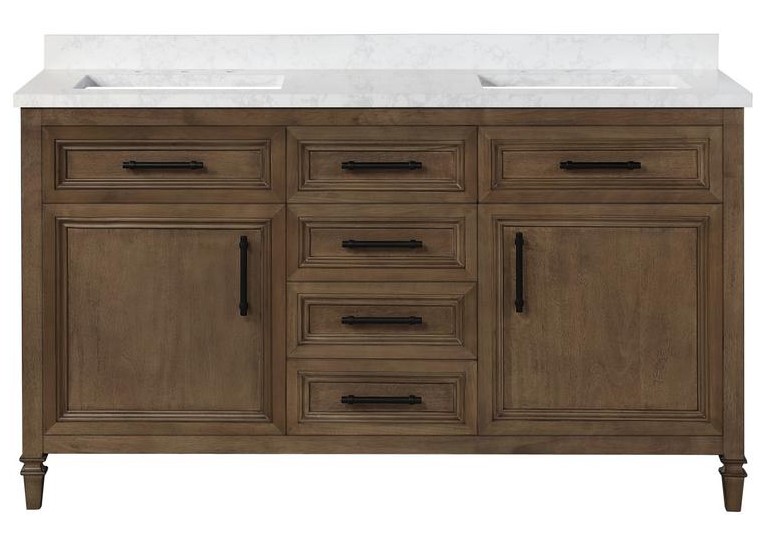
Since this project has taken so long, the vision of what we are going to do has evolved over time – and as our desires came in contact with reality (read: budget). I even toyed with the idea of building my own vanity for a while. A few weeks ago, this vanity came up on a Home Depot Deal of the Day. It isn’t exactly the style I had originally envisioned, but it has a white (cultured marble) top, two under-mount sinks, soft close drawers, black hardware and the right wood tone. Honestly, once it arrived, I am very happy with this purchase and I am thrilled with the price. Home Depot lists this for $1799 but we got it on sale (with free shipping!) for just under $1200.
I will say, check out my saved stories on Instagram under “vanity saga” for a bit about how this was delivered. Let’s just say I was not impressed. However, once it was un-boxed and we got it in the house – I’m very pleased with the vanity itself!
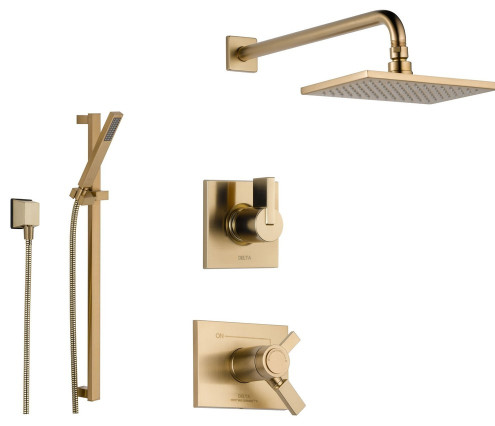
One benefit to taking a super long time to complete a renovation is that you have time to search for good deals and collect your items slowly as you find them. One of the things I am most proud of finding for a great deal are the shower fixtures. I scoured eBay for months to collect all of the pieces we would need and ultimately paid around $400 for what we needed, saving about $1,200 compared to what it retails for. I think champagne bronze looks so luxurious and I can’t get over that we will have these fixtures in our shower.
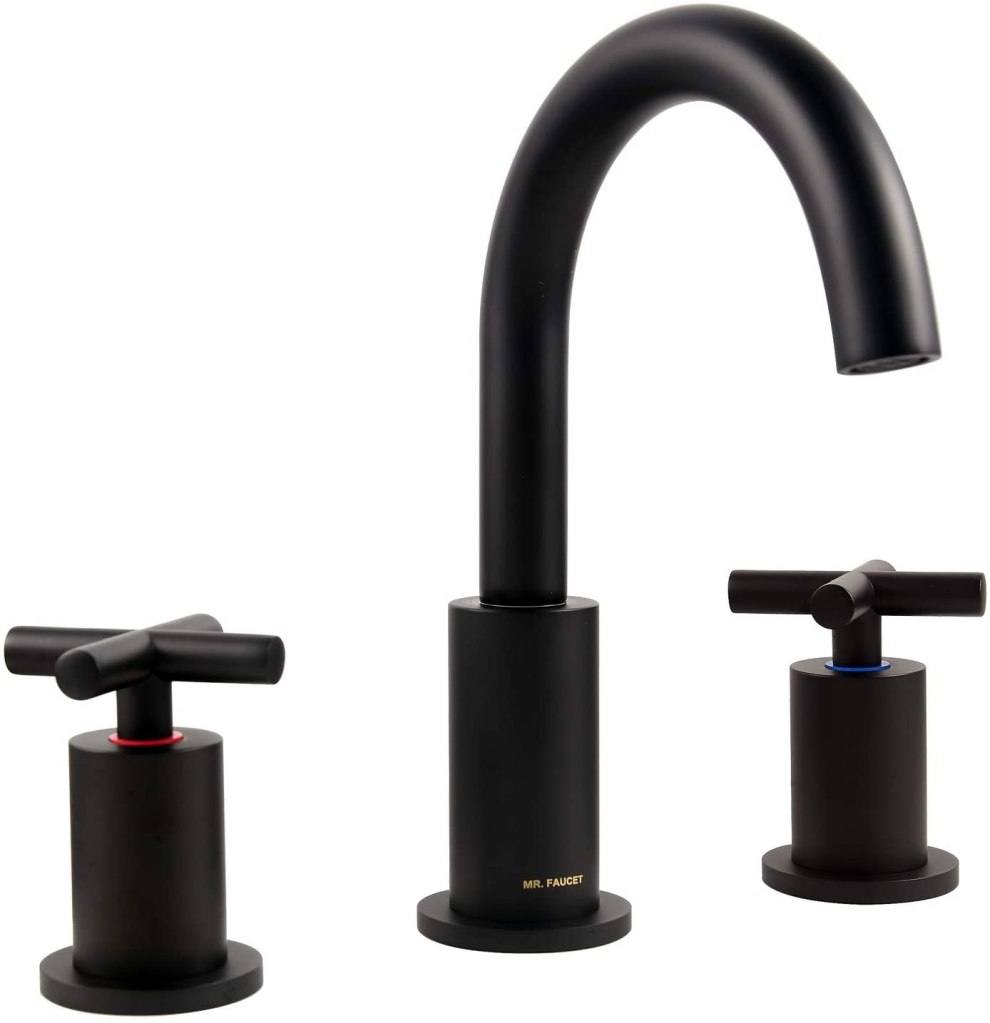
My eBay skills did not pay off when looking for sink faucets. I came up empty handed despite months of searching for the Delta Trinsic wide spread sink faucets in matte black. When we ordered the vanity, I started searching for something with a similar look and came across this faucet on Amazon. I am not familiar with the brand Mr. Faucet [“Please, call me Jim; Mr. Faucet is my father”], but when these arrived, I was immediately impressed with the quality. Time will tell if this was a good purchase, but the price was definitely right: $80 for Mr. Faucet vs. $300 for the Delta one.
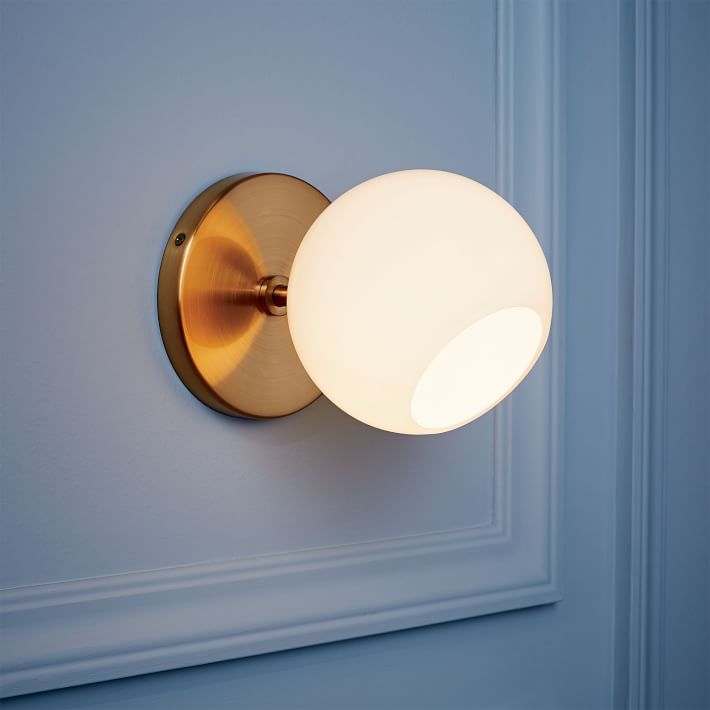
When I thought I might actually finish this project in the spring ORC, I bought a pair of lights from West Elm that I am really excited to finally get up on the wall. I love the milk glass and how it softens the light. I am a little bit nervous that the antique brass will clash with the other metals in the room, but talk to me in a few weeks about that.
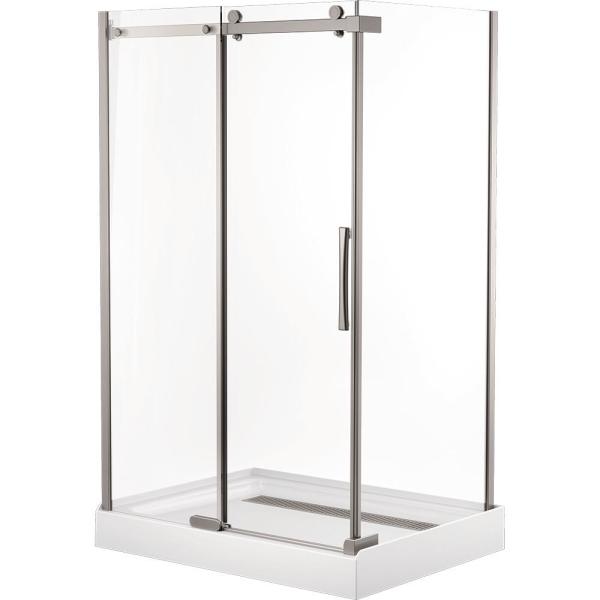
We haven’t purchased our shower doors yet, but we designed this whole bathroom on the ability to use a standard size 48” x 36” shower pan that had an enclosure available. This has probably saved us the most amount of money in this whole process as we would have needed to hire out the shower if we hadn’t done this and the price of a custom-everything shower adds up quick. I did pick this out before finding the champagne bronze fixtures, so I may try to use Alex from Old Town Home’s trick to use Gun Blue to darken the stainless steel metal on this enclosure. I know it’s possible on screws, but it seems like it might be tricky with the amount of metal on these doors. We’ll see!
As you can see, we have a lot of items ready to go, but we still need to pick out and purchase a toilet, toilet paper holder, towel hooks or a bar and mirrors. Plus probably a mat to go outside the shower and a rug of some kind in front of the sink. And maybe some plants. And art. And, and, and…
Stick around and see if 6 weeks is finally the amount of time left on the bathroom renovation saga or if I will still be working on this room at Christmas. Sign up to get email alerts about new blog posts – every week during the ORC!
Real time updates on Instagram on the grid and in stories (stories if you’re a time-lapse junkie). Instagram is the best way to keep up with this bathroom renovation as well as the 15 other projects we have going on at any given time.

Make sure to keep up with the rest of the One Room Challenge Guest participants via their blogs and on instagram. Find them here .
