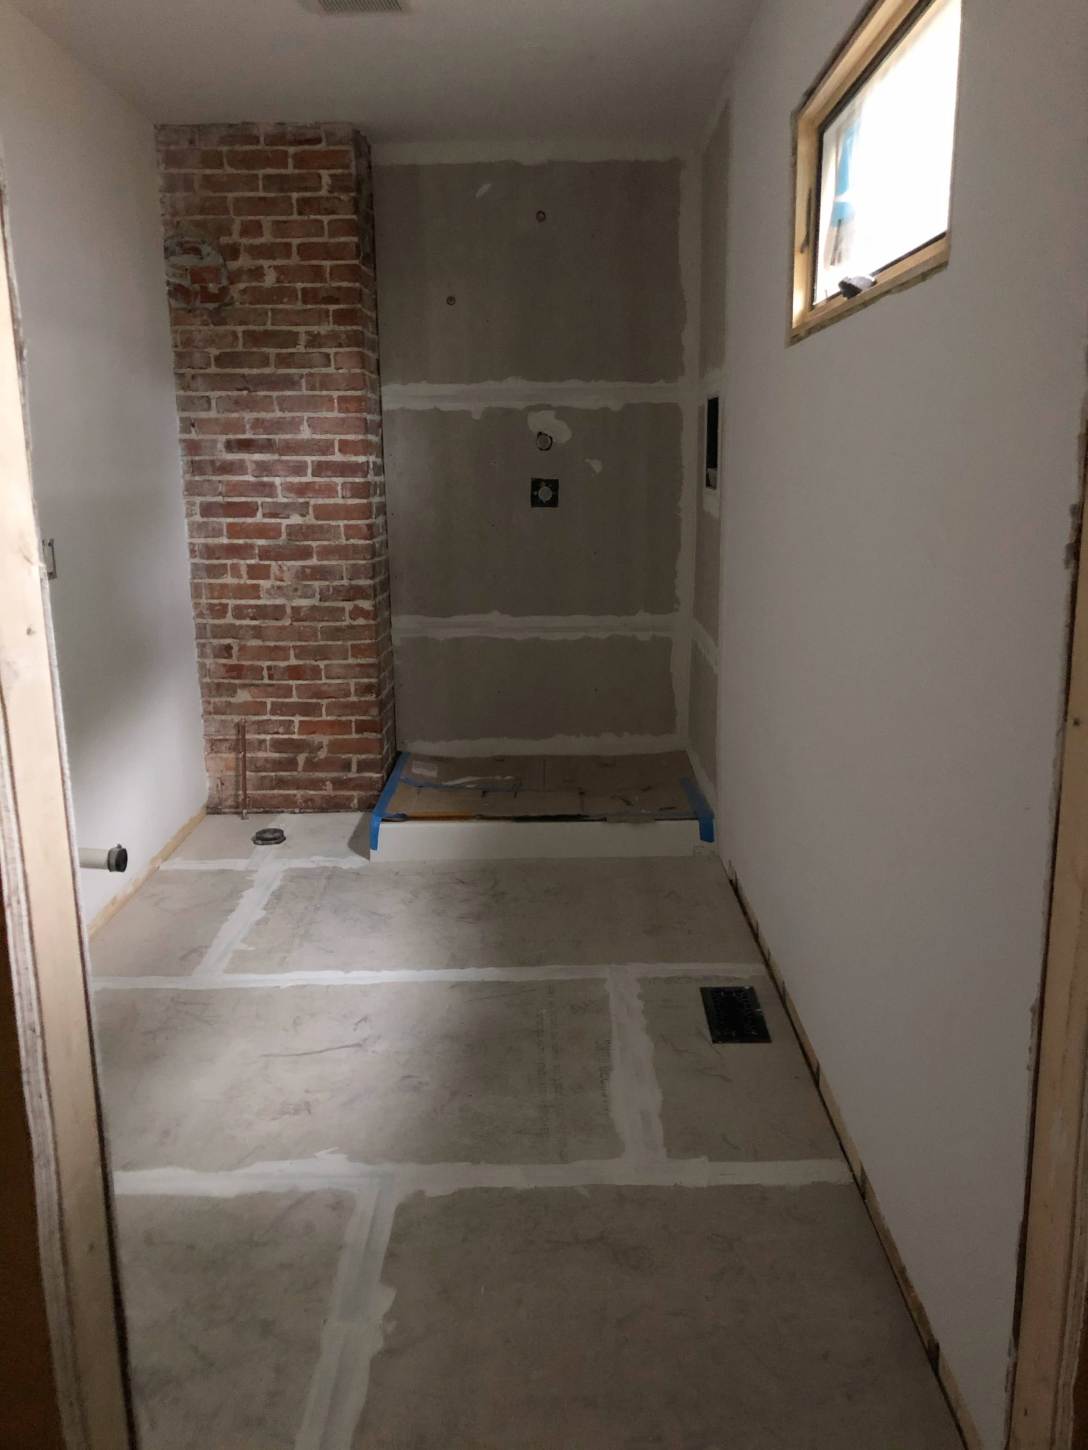
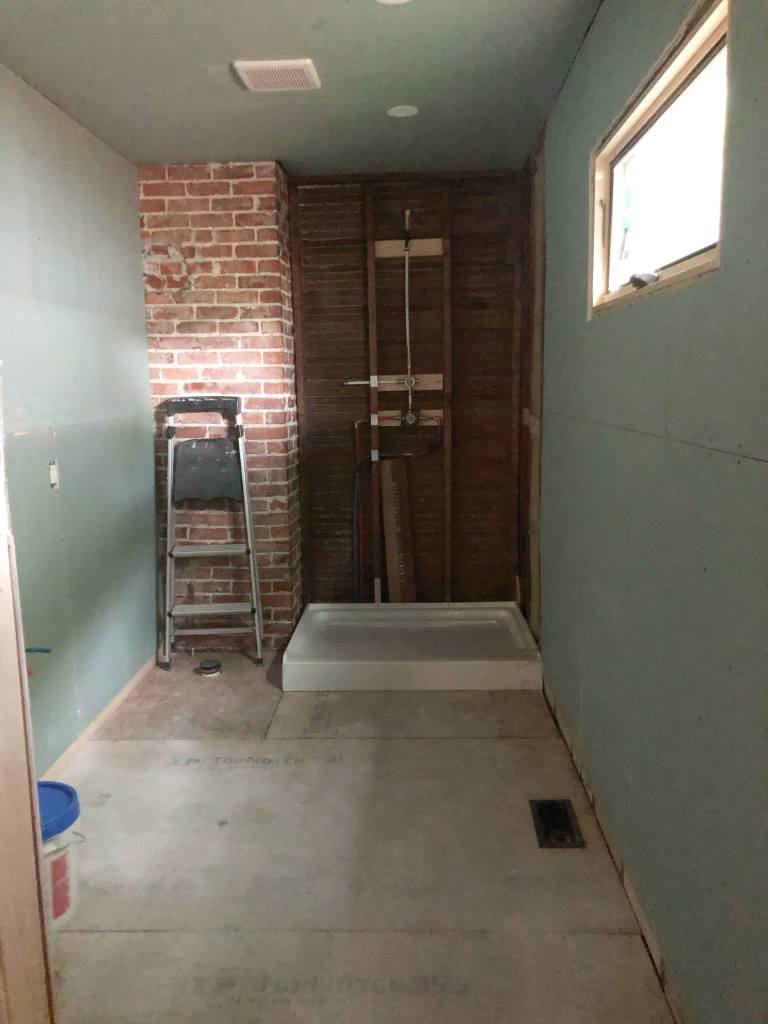
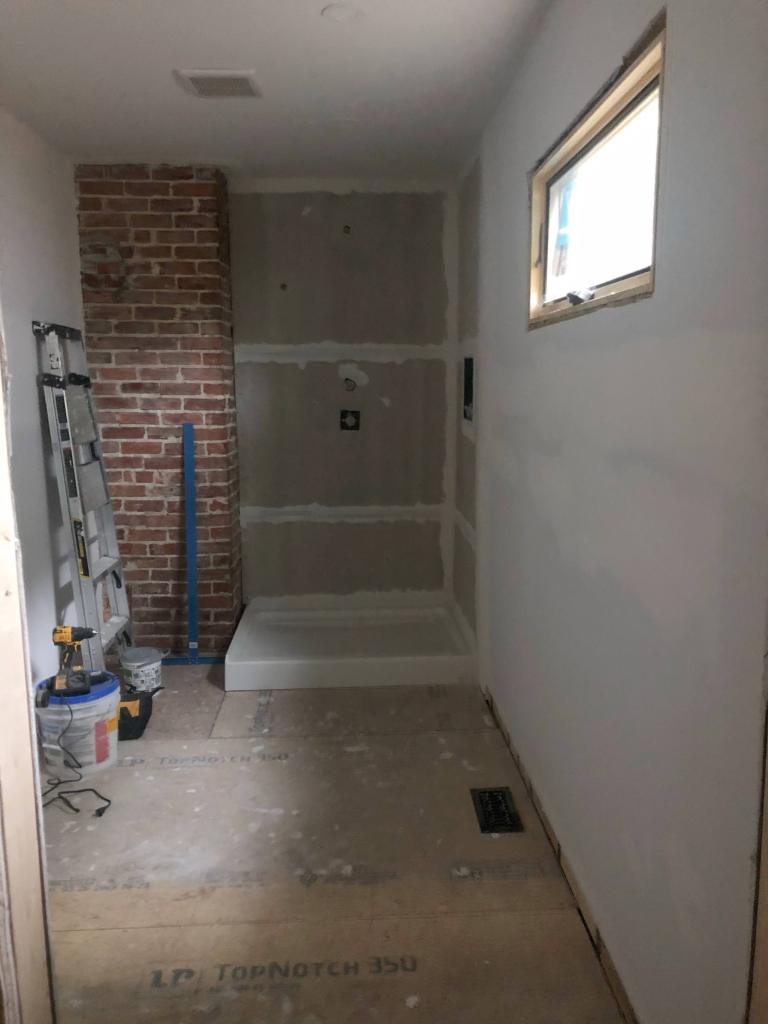
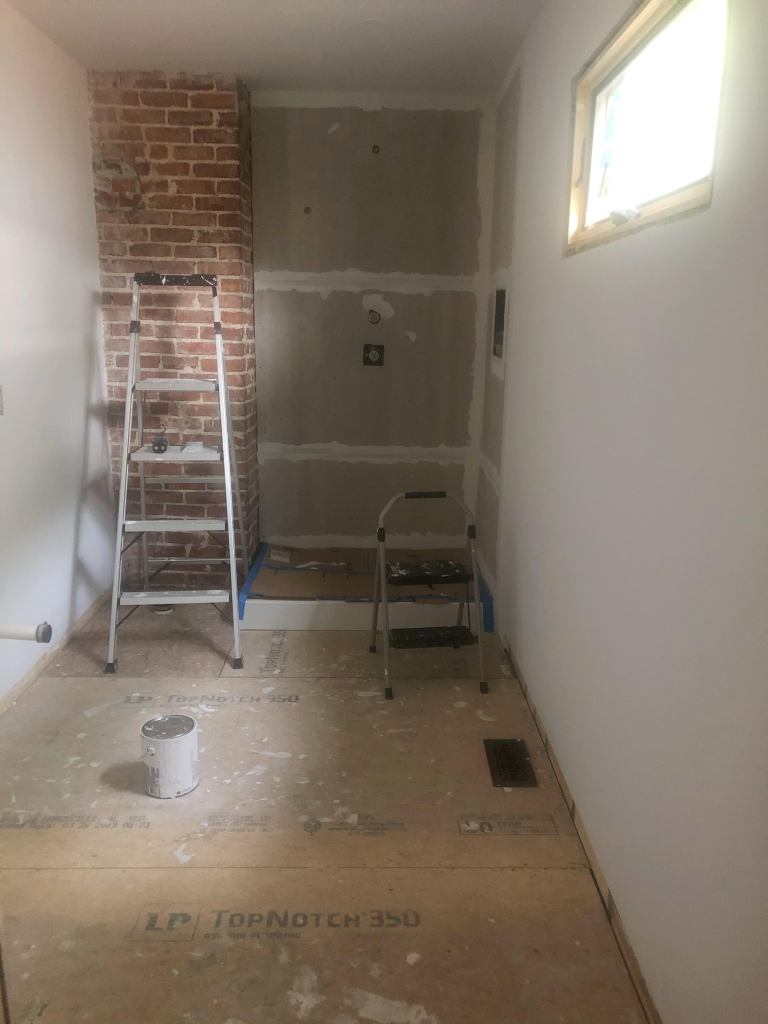
Today is the official last day of the Spring 2020 One Room Challenge. Most reveals were posted on June 24th, but many – now including mine – have been trickling in since then. Don’t get too excited, the bathroom is not finished. But a lot of progress has been made in the last 2 months. Let’s remember what the room looked like on May 7th:
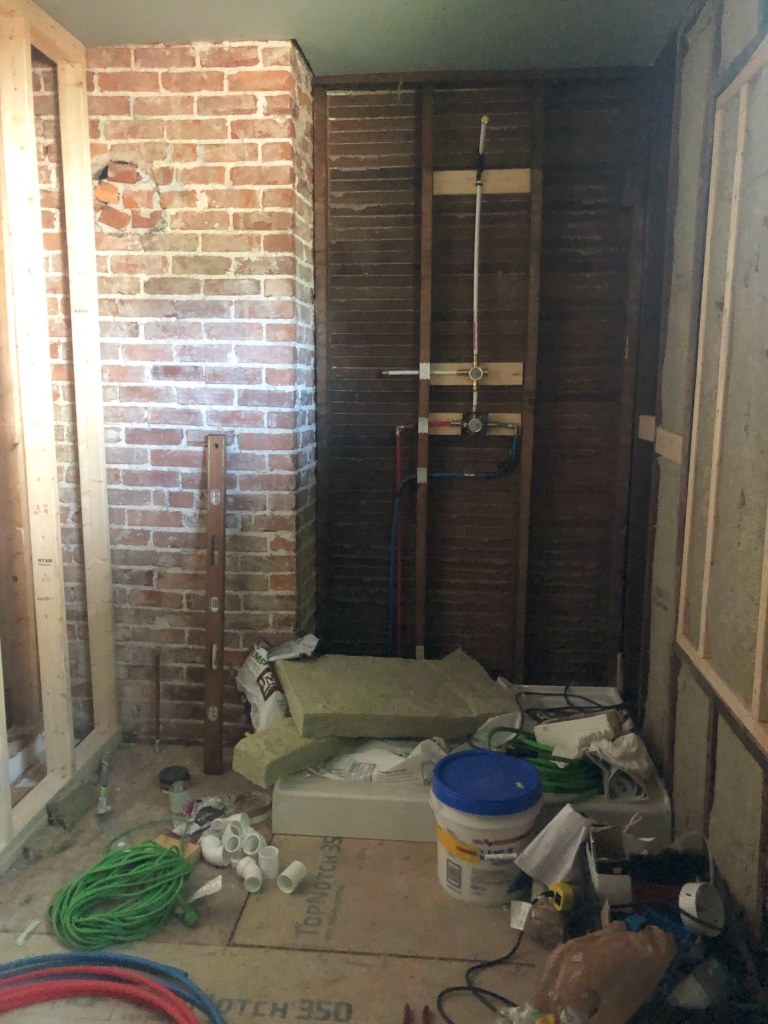
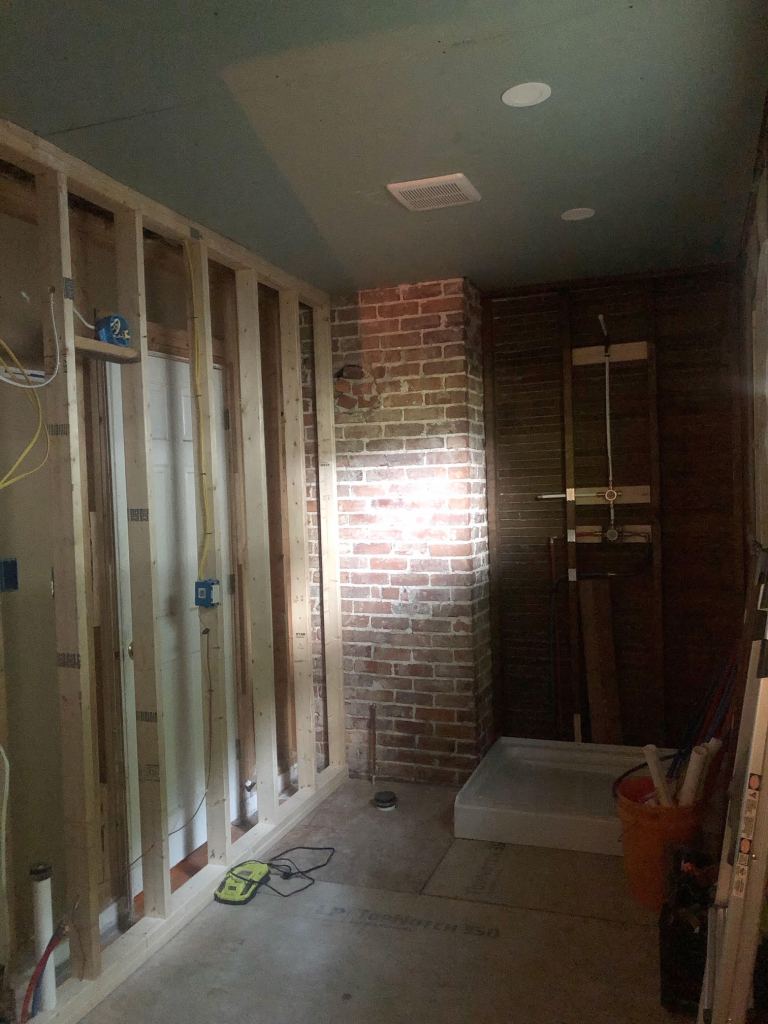
It still very much looked like a construction site. Walls were framed, electrical was mostly complete, plumbing was mostly complete, insulation was partially installed, some drywall was up. In the 2 months since my dad left after coming to help us finish framing and install our new window, the room had become a dumping ground for all of the junk we didn’t want to deal with. We were, after all, figuring out how to live in a global pandemic with a toddler and work from home during quarantine.
So, knowing that I had a mountain of work left on the bathroom, I entered the One Room Challenge as a guest participant. What did I have to lose? Nothing. (Except the feeling of defeat watching everyone’s beautiful room reveals knowing that I was probably still months away… )
Prior to starting the ORC in May of 2020, we already been working on this project for quite some time. We started with demolition of the old bathroom in April 2019. As with most renovations, we ended up with more than we bargained for and needed to completely rip up the sub-floor, reinforce and level all of the floor joists, run a new ground wire to prepare for new electrical, run all new water lines and drain lines, remove a window, add a window, frame and cut a new door opening… you get the picture. But we just are here to talk about the last 8 weeks.
Week 1:
The first step was cleaning up the space and getting organized. That’s honestly all we did the first week. One thing I have learned during this long renovation is to always put everything on the to-do list. The second most important thing is to keep my workspace as tidy and organized as possible. It makes it easier to jump in and do a bit of work when I have a moment at nap time or in the evenings.
Week 2 and 3:
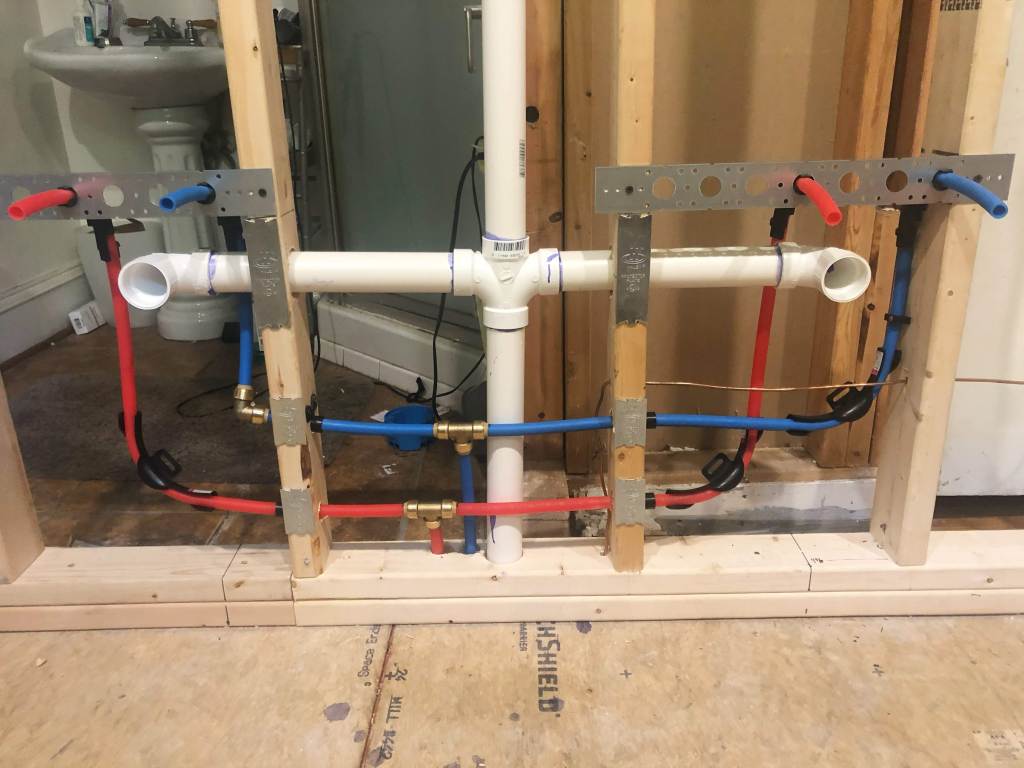
Plumbing. We had run the water and drain lines for the double vanity months ago – before the subfloor was installed. I’m going to be honest, I kind of forgot how much more plumbing we needed to do when the ORC started. This error probably contributed to the hubris I had when I started that there was any chance I would finish in the time period. With vanity plumbing there are two main options: plumbing coming up from the floor or out of the wall. The wall option is a bit more work on the front end, but I think it will give us an easier time later when we tile since we won’t have to tile around water and drain lines in the floor. It will also make it more possible to switch out the vanity sometime in the future if someone wanted to.
Finishing the shower plumbing happened somewhere in here as well. (What is time anymore, anyway? I feel like this whole year is Jeremy Bearimy). There’s a whole post about the shower plumbing if you want all the details.
Week 4:
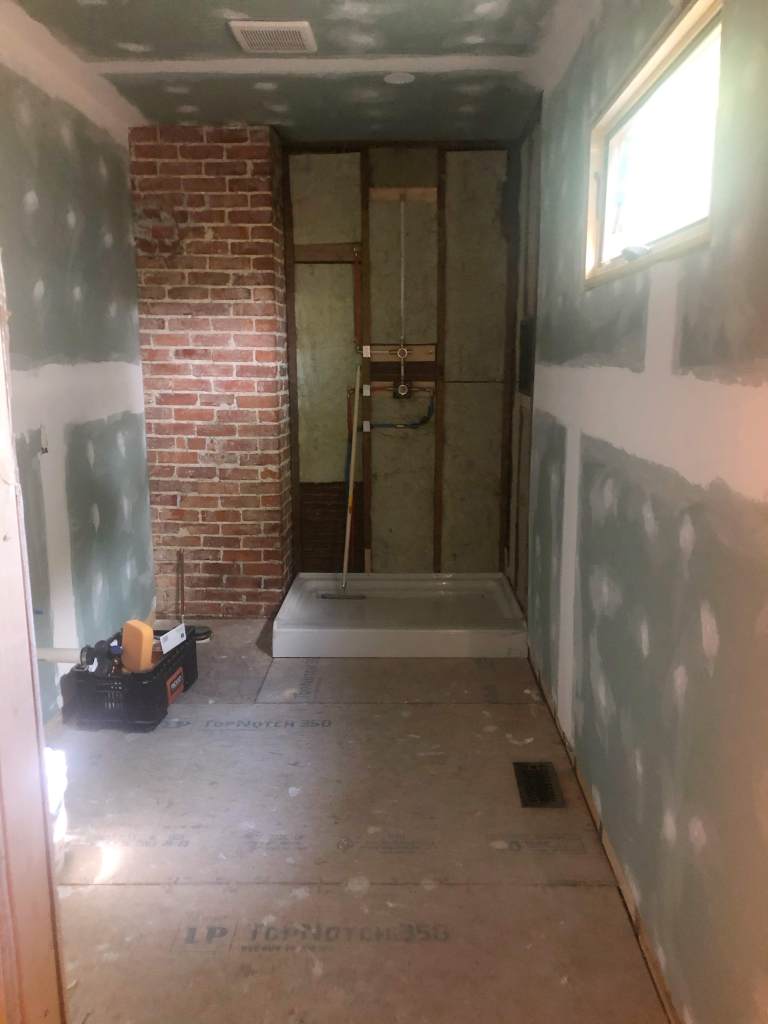
Drywall installation: this is where I started to feel like progress was moving quickly. Drywall up on the walls made such a HUGE difference in how the room felt.
Drywall taping and mudding: this is where I started to feel like this project would drag on forever.
Unlike many people, I actually enjoy the process of taping and mudding drywall seams. There is something therapeutic about it. I like to have a project that I can throw some headphones in and knock out a bit of in the evenings – and mudding is definitely one of those things. I learned a lot in the process and I plan to write something more detailed with all of my drywall mud tips in the future. There are some steps that can be taken to minimize the need for lots of sanding, which is always everyone’s drywall finishing complaint.
Week 5:
Week 5 we went dark. The heaviness that our country is dealing with warranted some time for quiet self reflection. In this house, we believe: Black Lives Matter. Love is Love. Science is Real. Women’s Rights are Human Rights. Injustice anywhere is a threat to justice everywhere.
I have been so proud to be part of the old house community in this moment. So many accounts are speaking out and using their voice and platform to amplify Black voices and educate others on matters of racial injustice. I used to compartmentalize my politics and my renovation story, but through these last few weeks it has become increasingly clear that is not an option. It’s all connected. We’re all connected. It’s important to be vocal about the things I think are right.
Week 6:
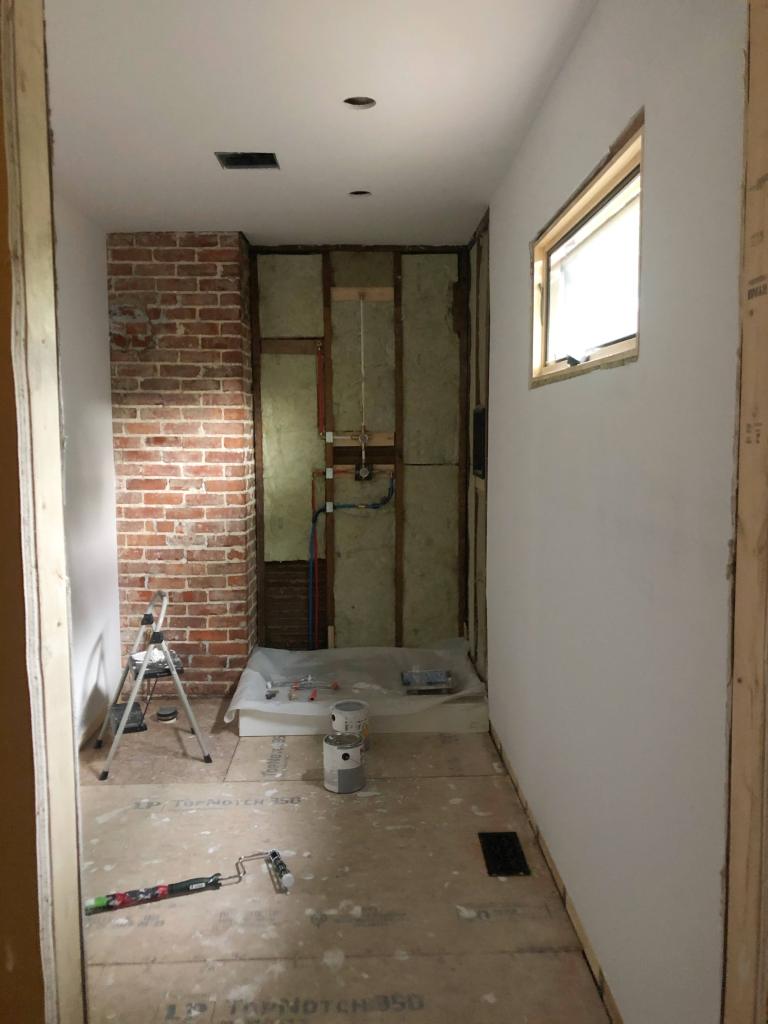
Primer. Drywall primer is an important step of any new drywall installation. Unlike paint, drywall primer will soak into the drywall and seal it and the mud (which is water soluble). Getting that primer up on the walls accomplished two things:
1. It stopped feeling like a construction zone and started feeling more like a real room, and
2. Brought out the imperfections I needed to fix in some of my seams – so, more mud was in my future.
Week 7:
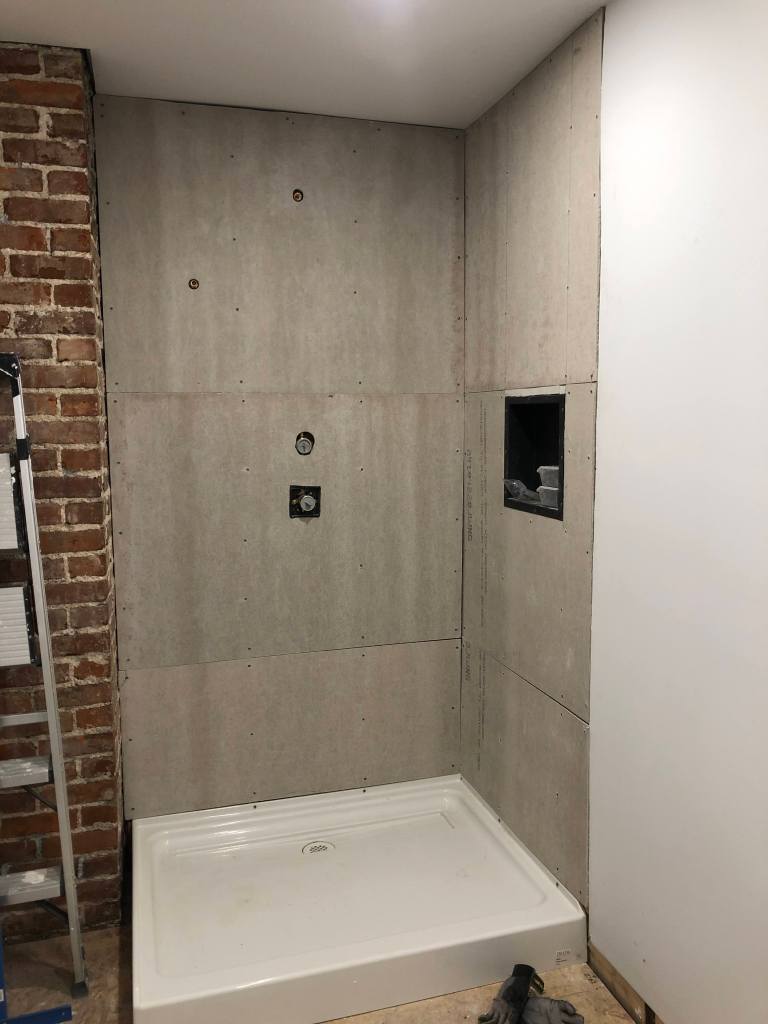
Cement Board. I had never installed cement board before this project. I figured, how hard could it be? Seems like it would just be heavier drywall. Boy was I wrong. Cement board is a pain. It’s difficult to cut; I had to go buy new tools (but who doesn’t love an excuse to get new tools!); and kneeling on it really hurt my knees (I have since invested in some knee pads). The tools I needed to acquire were: a carbide grit hole saw set, a jigsaw (how I didn’t already have this, I’m not sure) and some heavy duty metal cutting blades for the jigsaw.
After some trial and error, the cement board went up in the shower and I was able to tape the seams and cover them with mortar.
One issue we uncovered during cement board installation was that, since the outside wall of the house is bowed, there was more than a quarter inch difference between the cement board and the drywall in some places. I was very distressed by this initially, but, as we’ll see – it turned out just fine!
Week 8-9:
The last two weeks have felt slow because I didn’t make any dramatic visual changes to the room. I needed to work on fixing the issues with my original drywall seam finishing job. There was one seam where you could see a lump all the way down the top of the seam. Primer can help bring those imperfections out and it actually makes them easier to fix because the mud underneath is sealed in and you can’t make it worse. I also needed to level out the seam between the cement board and the drywall that I mentioned earlier. It took several days because I only did one coat per day, but I think it turned out really well. In addition, I wasn’t happy with the size of the gap between the drywall and the exposed chimney, so I used mesh tape to get a little closer – which meant I needed to mud that as well.
There were a few other spots here and there that needed some touch-up with the joint compound (mud). Once I finished that, it was time for another coat of primer on the walls. I also worked on sanding a spot on the subfloor that was a bit unlevel.
This weekend I have been working on getting cement board down on the floor in preparation for tile. This time, I have some better tools that are really making the process easier than when we did the shower. I have knee pads, which is making it far less painful to kneel on the cement board while cutting it or while screwing it to the floor. I upgraded my cordless drill from my trusty 10-year-old Ryobi to a DeWalt a few weeks ago and it has been SO much easier to use. Using the carbide grit hole saw went twice as fast with my new drill, and fastening the cement board required way less force. I can’t believe that I waited so long. Seriously, thinking about how much faster the drywall would have gone up with this drill almost makes me want to cry! I also got better blades for my jigsaw – blades for cutting thick metal seem to be working the best, but they don’t last long. I did not get enough of them and had to go back to the store for more.
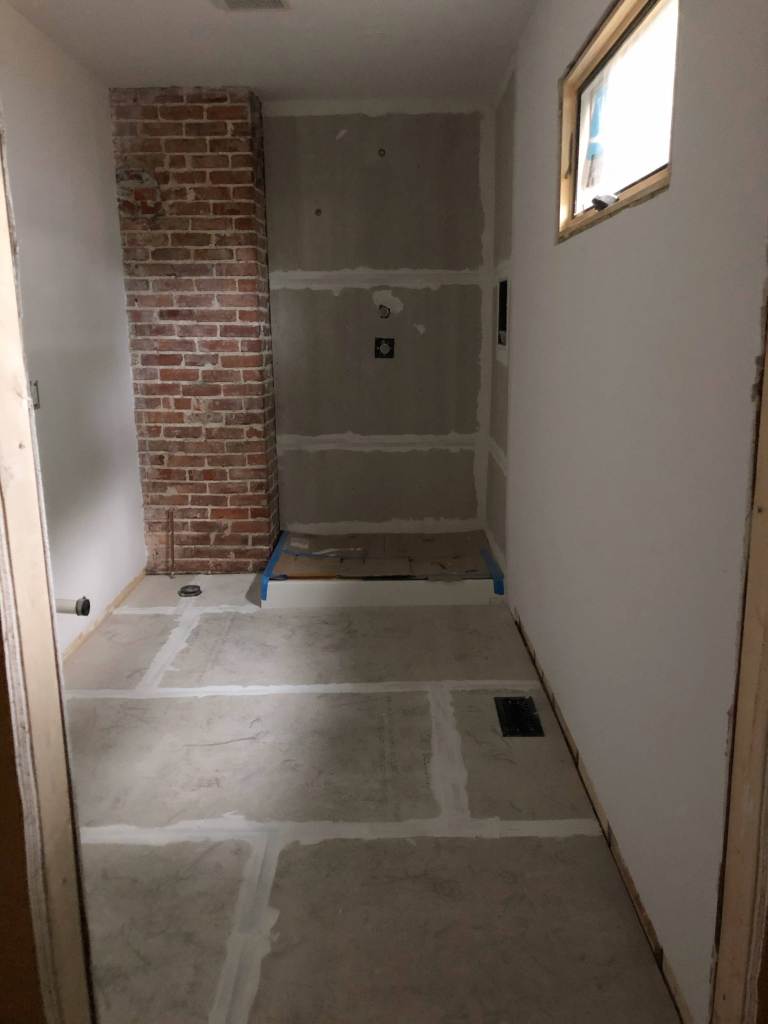
The Reveal:
My reveal is a transformation from a construction site to a room with walls, ceiling and a floor and plumbing and electrical ready for installation of all the pretty features. In the grand scheme of things, it’s a massive amount of progress in just 8 weeks.
Don’t forget, I still have a full time job and a toddler at home! Sometimes I need to remind myself of that because it seems that others are able to get things done at a much faster pace. It’s important to remember that everyone has different circumstances and I can only do what I can do.
I’m not giving myself a timeline for finishing the room, but here is the list of things we still have to do (probably close to the order I’ll do them in):
- Tile floor
- Grout floor
- Apply Red Guard water-proofing to the shower
- Tile shower
- Grout floor
- Prime (again, I know) and paint ceiling and walls (x 2 coats)
- Install shower plumbing fixtures
- Install toilet
- Decide on a vanity and sink fixtures
- Install vanity and sink fixtures
- Install vanity lighting
- Install door
- Figure out what we’re doing for trim… and do that.
So, the ORC challenge is over – but, life and renovations goes on! I’ll keep plugging away at this bathroom until it’s done. And then… we’ll demo the hall bath and start the whole process over again…
But what if the real One Room Challenge was the friends we made along the way?
Right away, the camaraderie that I felt as part of the ORC was wonderful. I met a bunch of great people who were also working on bathrooms like Sachi Lord and Jenna Beach. I became closer with insta-friends I already knew who were participating like Mary from @homebuggie. The online DIY/old house/renovation community is truly a special place that I am so grateful to be a part of, especially now when we are all isolated from our in-real-life friends.
It’s interesting to see the designers renovating their rooms alongside the “regular” folk. Mostly, it’s inspiring to see what they are creating. (Sometimes it’s a little discouraging, but that is a post for another day.) I am forever grateful to Stephen and David of @renovationhusbands who shouted me out and encouraged me so much along the way. Their bathroom/bedroom/closet renovation is truly a work of art. The detail and precision they bring to their designs is really inspiring. Plus, they’re just delightful human beings!
So, despite not actually finishing my room, I’m glad I joined the One Room Challenge this year. Next time it rolls around, if you’re considering joining but not sure if you’ll finish – what do you have to lose?

[…] 18: Join the Spring ORC thinking it will help you finish. Make lots of progress, but do not ultimately come close to […]
LikeLike
[…] As a reminder, the end of the Spring ORC got us here: […]
LikeLike