As of this writing, there are 10 days left until the absolute last day to reveal our One Room Challenge rooms and I am going to need every last minute of time. I finished painting at the end of last week which was week 6 of the ORC (technically final reveal week, but we won’t dwell on that). I thought I would do a run-down of what I used and what my process was.
Materials:
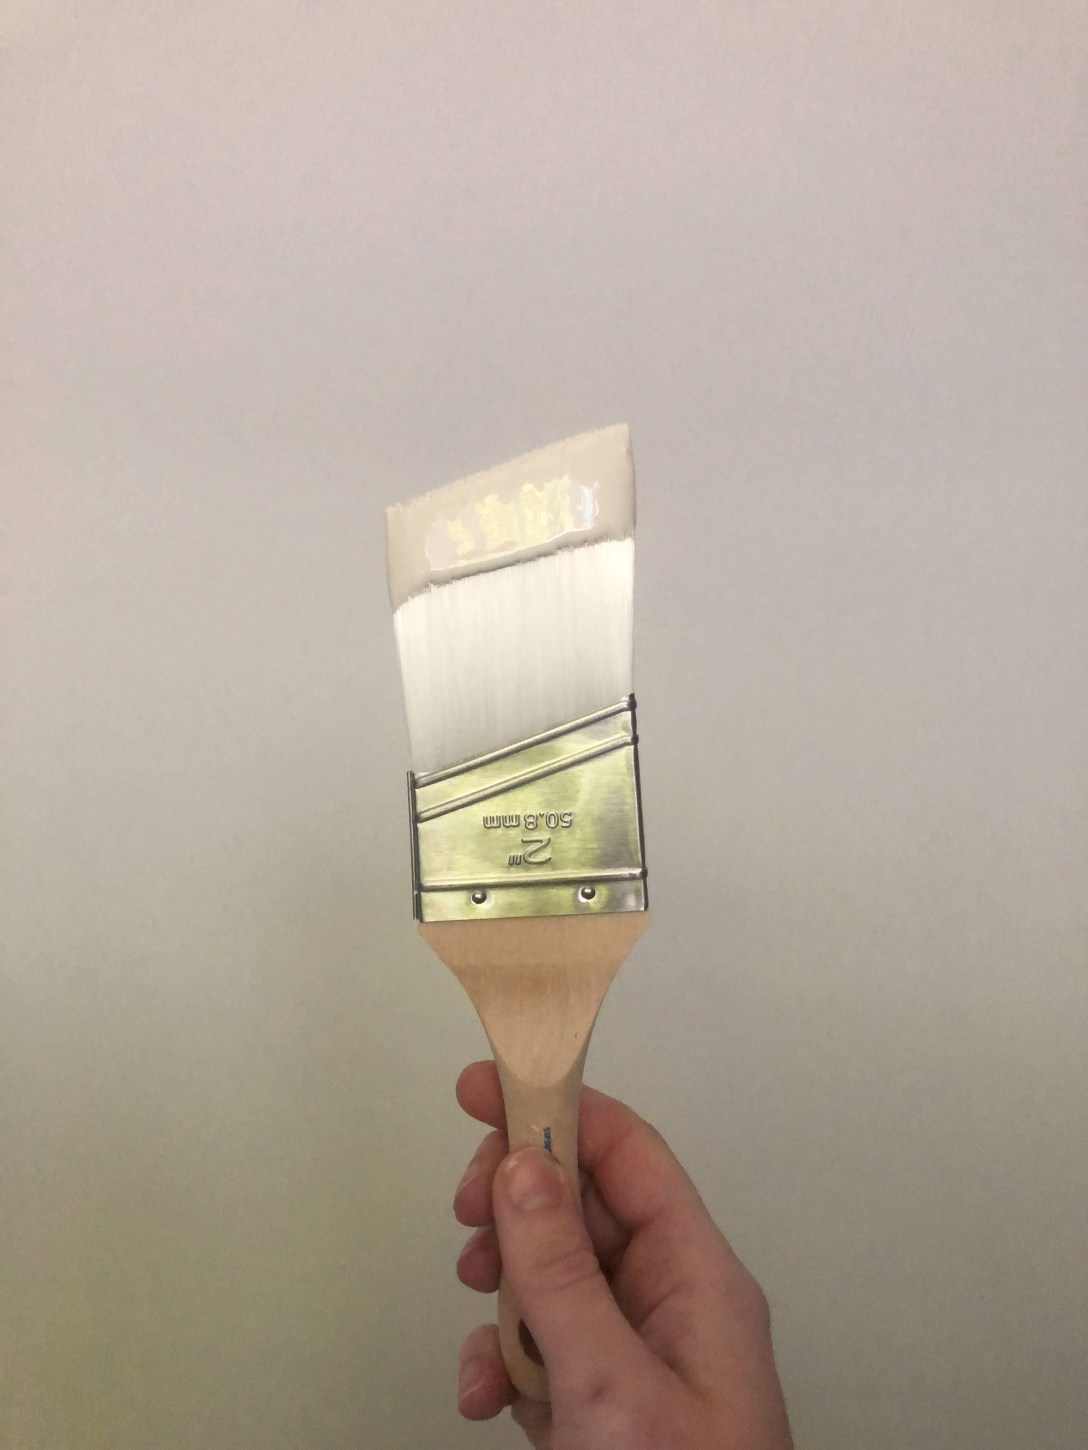
Zibra Precision Cut in Brush – I love Zibra brushes. They’re just better than everything else. I don’t know what to tell you. This is the one I use for cutting in.
Purdy Colossus 1/2” Roller Cover – This roller gives great coverage and a nice even texture. It also cleans up really nicely to use over and over again.
Shur-Line Easy Reach 5′ Adjustable Extension Pole – I really like my extension pole. It is easily adjustable so I can change the length to get exactly what I need. It has a comfy grip too and my hands don’t get too tired.
Paint:
Even though I had primed the walls months ago when we finished the drywall, it is important to prime shortly before painting, so I needed to do at least one more coat of primer over everything. I used Kilz PVA Drywall Primer. It is important to use a drywall specific primer over new drywall to seal everything in. Putting primer over drywall mud also allows you to see if there are any areas that need touching up. Part of why I primed the walls earlier this summer was because I kept messing up my drywall mud by trying to fix it. Painting it allowed me to make adjustments without messing up what I already had done.

Next, I painted the ceiling. I used Benjamin Moore Ceiling Paint in White. Boring, I know. First I cut in around the edges. I wasn’t too concerned about being precise since I still needed to paint the walls. Then two coats of paint with a roller making sure to back-roll. I think in the time-lapse video below you can kind of see the back-rolling process. Basically, after getting the paint on the wall, go back and roll all the way down in one motion and then overlap that line by about half a roller and repeat. It will give a more uniform finish. Another way to ensure good, even coverage, is to not paint in a “W” pattern that you see in all the paint commercials. Start a new line of paint about a half roller distance away from where you just were. Spread that out while trying to roll the whole length of the wall (or ceiling). My painting professional friend taught me that and I really think it makes a difference in the outcome of my painting projects.
On the walls, I used Benjamin Moore Aura Bath and Spa paint in Revere Pewter. This paint only comes in a matte finish but is super durable and is also mildew resistant. Apparently the reason why it only comes in a matte finish has to do with that mildew resistant quality. It went on so smooth and covered really well. I was a bit hesitant about the matte finish as I usually use satin finishes in areas like kitchens and bathrooms but I can already tell this paint is not only beautiful on the walls, but durable too. As I’m writing this right now, I’m realizing that I probably should have chosen the Aura Bath and Spa paint for the ceiling as well due to the mildew resistant properties, so we’ll see how well the ceiling paint holds up in comparison to the walls.
I did not use tape for the ceiling corners and decided to cut in free hand. I made some mistakes, but it was easy enough to go back and touch those up later. I loathe taping things off to paint. It just takes so long and I never feel like it turns out right (and yes, I’ve heard of the painting over the tape trick). I’m not the best at cutting in free hand, but I figure, no better way to improve but to practice!
I didn’t stop to take any pictures of just the paint and rolled right into installing the sconces, vanity, faucets and toilet in the few days following finishing up painting. I am thrilled with how this room is coming together.

I love this picture because of the light coming in through the window and also that the shower wall and niche are reflected in the mirror. I picked the color Revere Pewter because I thought it would play well with the brick and it also matches the grout color of Alabaster from Mapei almost exactly! You can also see here I painted my outlet covers in the same color. I like that they blend in to the wall. Everything is coming together and feeling quite intentional. I was worried that since this project has taken me so long to complete that the choices I have made along the way wouldn’t work together well once they were all in the room together. I do not think that is the case!
So, what’s left? Finishing touches, mostly. I have ordered shower doors which may get here and get installed before the deadline to the One Room Challenge, but they might go in after. I also picked up some art earlier this week at a local shop and some maple 1×6 and 1×4 boards to make some baseboards and window casing trim. We still need some towel hooks and bathroom organization stuff too, but that may come later.
Stick around to see the dramatic conclusion to our One Room Challenge adventure!
