While everyone has been learning how to bake sourdough, I have been making pizza. In late March, I was struggling to determine which staples to keep in the house that a) would last between grocery runs, and b) all members of my family would reliably eat. If you have ever lived with a two-year-old, you know that what they voraciously devour this week, they will altogether refuse the next.
With the exception of pizza. Pizza is ALWAYS a ‘yes’.
Frozen pizza is never quite as satisfying as I’d hope and, takeout pizza isn’t something I can feel good about eating on a regular basis. I have discovered that it takes very few ingredients to make delicious pizza dough from scratch and have now made pizza Friday a weekly tradition.
I use the NY Times Cooking Recipe for Roberta’s Pizza Dough . [If you just want a no-nonsense recipe for dough without any snarky commentary, just click that link. No hard feelings, we’ve all been there… “Just show me the recipe already, lady!” But If you’re here for the commentary, keep reading.] About 4-5 hours before you want to cook your pizza, you’ll need to start the dough.
Here’s where the working from home bit kicks in: if I was going in to the office on a regular basis, I wouldn’t have time at lunch to make dough. If you’re extra lucky, you will have just put that two-year-old down for a nap. I usually start around 12:30. Here’s what you’ll need:
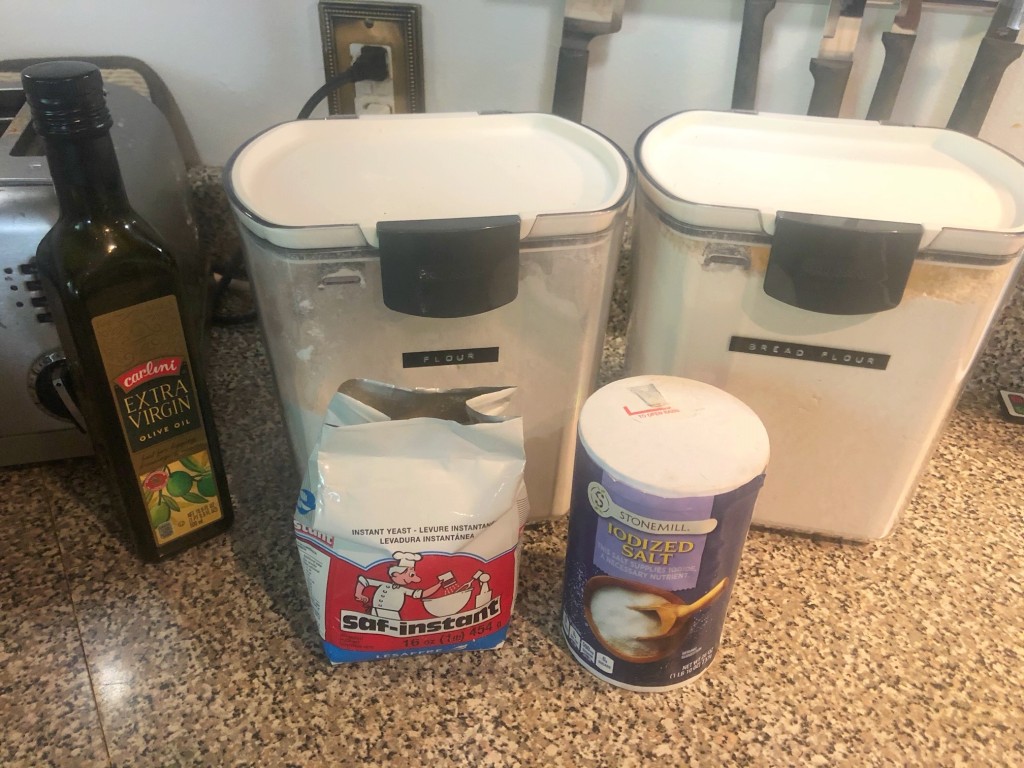
2 cups + 2 tablespoons flour
(Note: the original recipe calls for about half bread flour and half all purpose. I have recently acquired bread flour and it does make the crust a bit more crunchy on the outside but chewy on the inside, however, no one else in my family can tell that I switched from using all all-purpose flour.)
1 teaspoon salt
3/4 teaspoon active dry yeast
1 teaspoon olive oil
slightly less than 1 cup of lukewarm water
Step 1: Combine the yeast, olive oil and lukewarm water. I do this right in my liquid measuring cup. Set aside for the yeast to do its thing.
Step 2: Mix the flour(s) and salt together. I don’t bother to sift it, just whisk everything together in a big bowl.
Step 3: Pour the yeast/water/oil mixture over your flour and mix with a wooden spoon or spatula until its mixed enough to start using your hands without it being too messy (you’ll know.)
Step 4: Knead the dough right in the bowl for about 3 minutes. Sometimes I need to add a sprinkle of flour to keep it from sticking, sometimes not. I think it depends on humidity or whether or not the kitchen fairies are happy that day. Not sure – when in doubt, just add a little flour!
Step 5: Let your dough rest for 15 minutes. Clean up the mess you made in the kitchen or start some laundry or check your emails. (Or, let’s be real, scroll on Instagram and watch how-to videos on YouTube about drywall mudding)
Step 6: Knead that dough for another 3 minutes. I don’t know if there is a particular way you are supposed to do this. Go with your gut. Push the dough, fold it, pick it up and drop it, repeat… I just go for whatever it looks like they’re doing on the Great British Baking Show. I’m sure Paul Hollywood would be appalled at my technique though.
Step 7: Separate the dough into two even pieces and form into balls. Don’t stress, it doesn’t really matter if they are perfectly even, I’m sure you could weigh them if you wanted – but who has time for that! Put those balls on a floured cookie sheet and cover them with a damp cloth. Wait 3-4 hours. This is the perfect time to go do some drywall mudding, or prime the walls, or whatever the project of the week is.

Dough after adding water/yeast/oil mixture. This is what it looks like when I start using my hands 
After first 3 minutes of kneading 
After second 3 minutes of kneading 
Dough balls on my floured surface 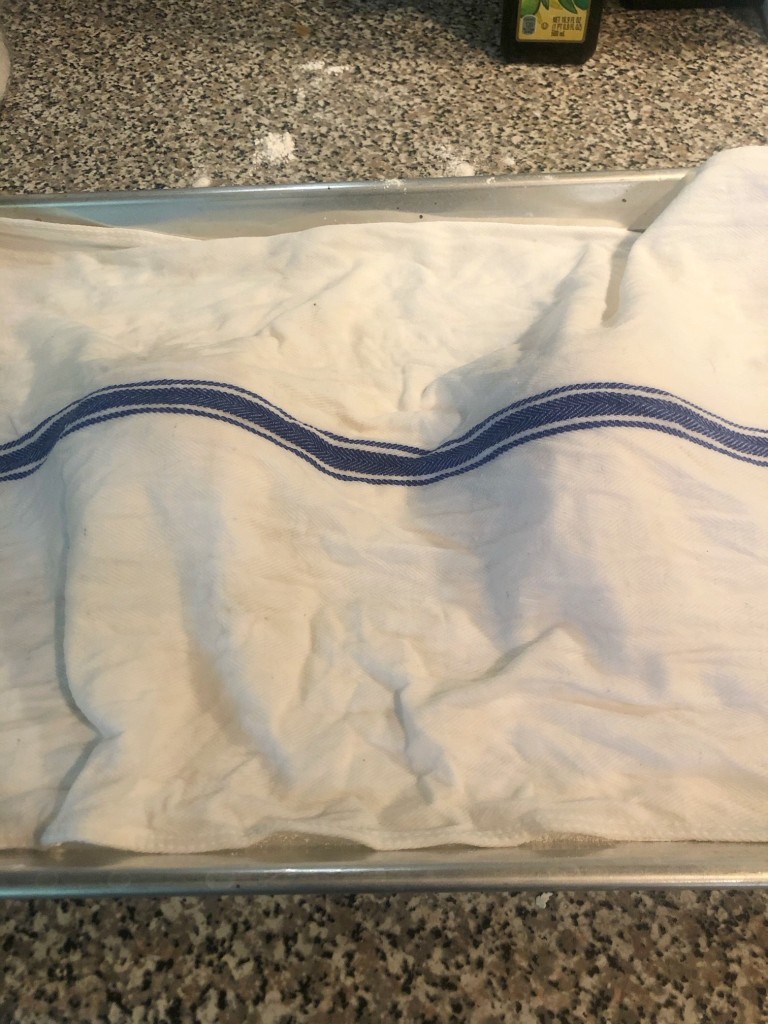
all covered up and ready to rest for a few hours!
Step 8: About an hour before you want pizza, you’ll need to put the pizza stone in the oven and pre-heat to 450o. [If you have my oven, you’ll pre-heat to 350o, then, when it beeps, you’ll know it’s lying and the temperature in the oven is only 225o and you’ll turn it off and back on again and pre-heat to the actual temperature that you want which is 450o and then probably also have to add 25 – 50o to get the actual temperature in the oven to 450o… Kitchen renovation coming-soon]
Step 9: We’re ready to start assembling the pizza. Here’s what you’ll need:
parchment paper
cornmeal
pizza sauce
(You could get fancy and make your own sauce like Deb at Smitten Kitchen which I’m sure is delicious like everything she does, but I just use Publix Pizza Sauce from a jar – remember, we’re in a pandemic – I’m looking for shelf stable staples!)
shredded mozzarella
marinated artichokes
ricotta
sea salt
pepper

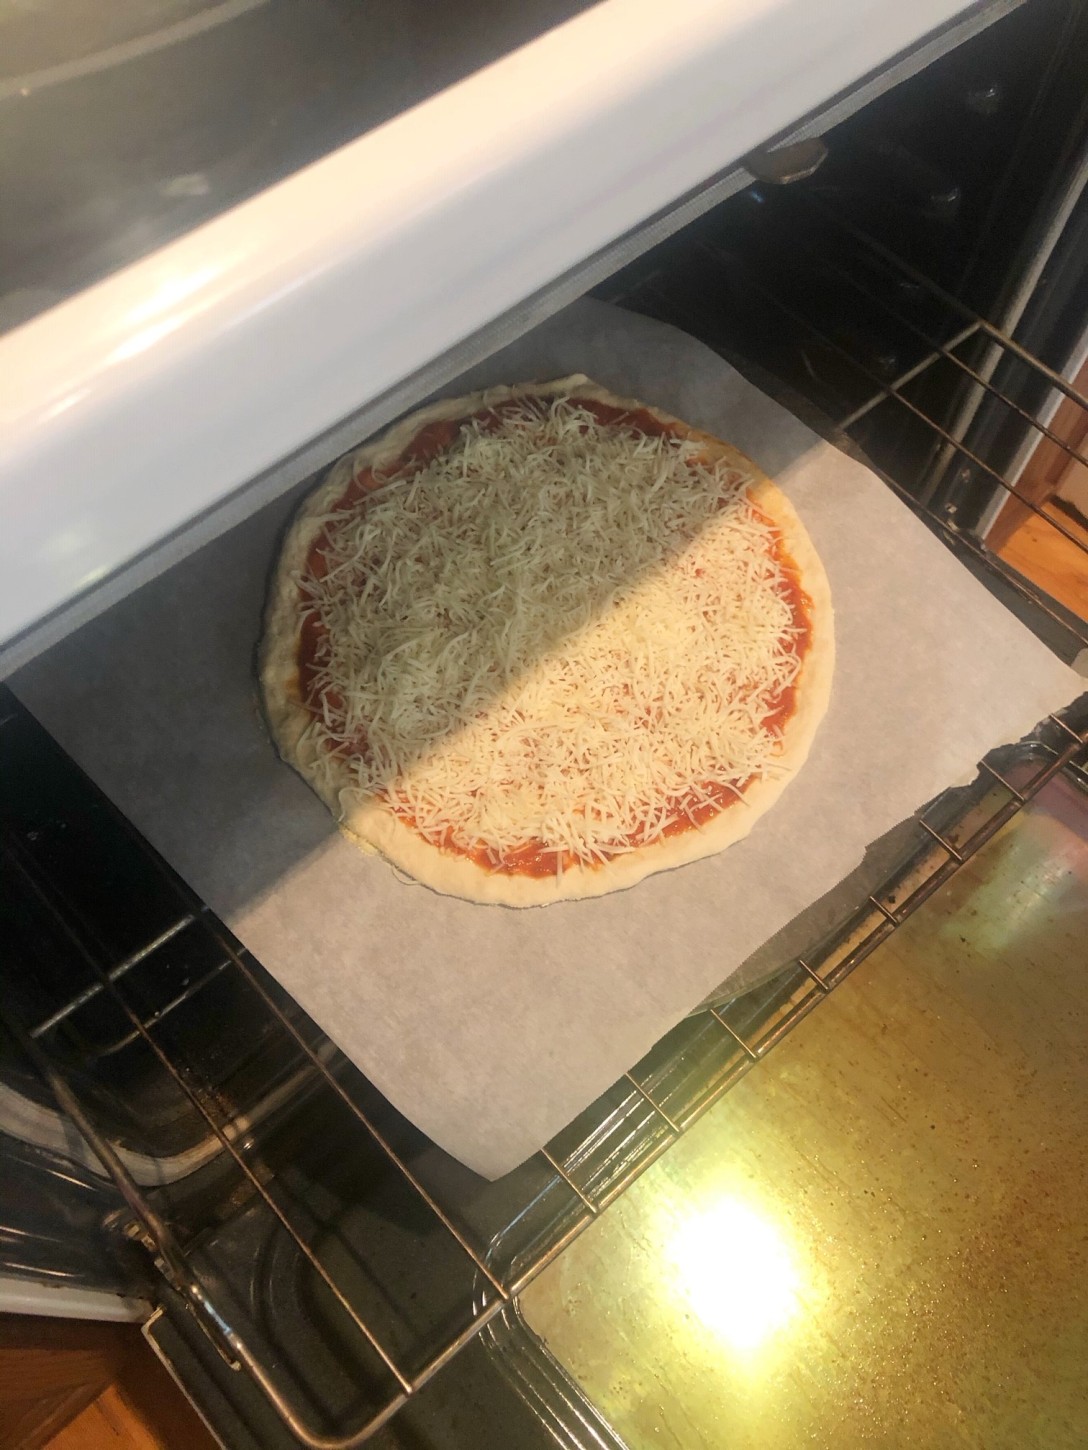
Put a piece of parchment paper about the same size as your pizza stone down on the counter and sprinkle it with cornmeal. Pick up one of your glorious balls of dough. Pat the air out of it a bit. I stretch it some in the air before putting it down on the parchment. Now just kind of press and stretch the dough out until its the size and shape that you want. If it sticks, add more cornmeal underneath.


You can go wild here with whatever ingredients you want but I usually make one plain cheese pizza (hi, I have a toddler) and one artichoke and ricotta pizza. This is important: Make the plain pizza first. Trust me, you’ll thank me later when your child isn’t throwing a fit because his pizza is too hot to eat or it’s not quite ready yet but he can smell it because you made the other pizza first. Ask me how I know… Also, pour yourself a glass of rose while you do this step – it’s Friday!
Step 10: Once you have your pizza assembled on the parchment. Open the oven, pull out the rack a bit, pick up the parchment and lay it down on the stone. Sometimes you have to play around with where to hold on the parchment so the pizza doesn’t fold in half. I don’t know what the secret is, just pray to the pizza gods.

Step 11: After 4-5 minutes, try to pull the parchment paper out from under the pizza. I push the pizza with a wooden spoon while pulling the parchment out. If it doesn’t slide out easily, it’s too early, wait another minute or so.
Step 12: When the pizza is done, take it out! I think this takes about 12-15 minutes total from when it went in but I actually never use the clock, I just kind of check and guess. I’m in the kitchen anyway making my second pizza or sitting on a stool and drinking my wine waiting for the pizza to be cool enough to announce it’s arrival to the toddler.
Step 13: Repeat for the “adult” pizza. I make this exactly the same except I add some chopped marinated artichokes, a few dollops of ricotta and some sea salt and pepper to the top. Still don’t know how long it takes in the oven, sorry. You’ll smell it when it’s done but before it burns, I promise.
Step 14: Eat your pizza. Drink your wine. Revel in the fact that everyone, including the two-year-old, has eaten all of their dinner, asked for seconds and complimented the chef.
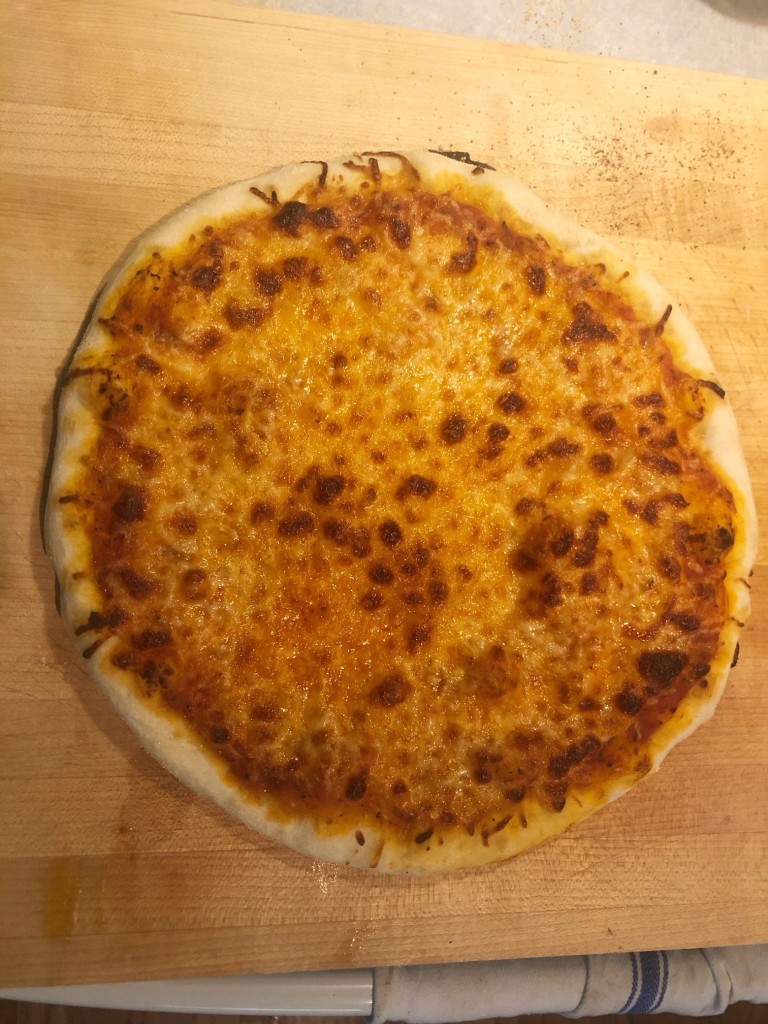
This pizza probably stayed in the oven for 1-2 minutes too long. Still good though! 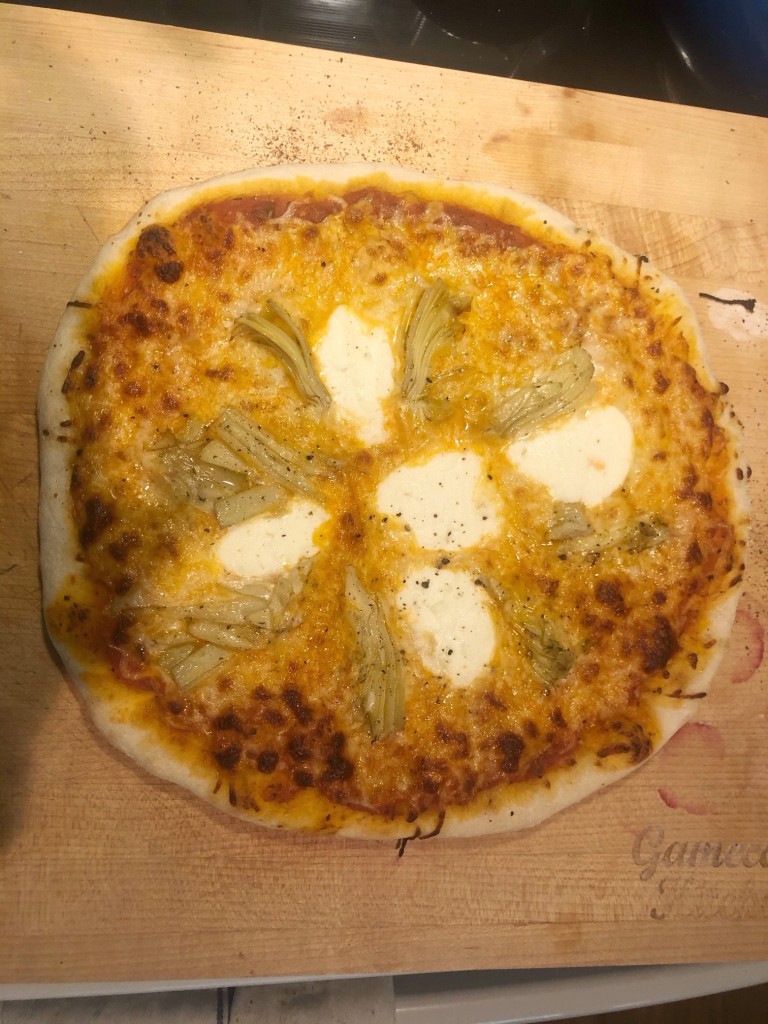
Note: I have read that you can make this recipe and let it rise in the refrigerator overnight. I haven’t tried it. I’ve also read that you can make a double batch and then freeze half for later. Also haven’t tried it. If we ever go back to the 40 hour in-person work week, I’ll have to try these methods, but for now, in quarantine, lunch time pizza dough on Fridays will continue!

[…] Step 19: Make and eat a lot of pizza. […]
LikeLike